 "Urambo Tauro" (urambotauro)
09/20/2016 at 12:00 • Filed to: cl100, honda, motorcycle, electrolysis, carburetor, project, wrenching, blog
 2
2
 7
7|
"Urambo Tauro" (urambotauro)
09/20/2016 at 12:00 • Filed to: cl100, honda, motorcycle, electrolysis, carburetor, project, wrenching, blog | 2
| 7 |
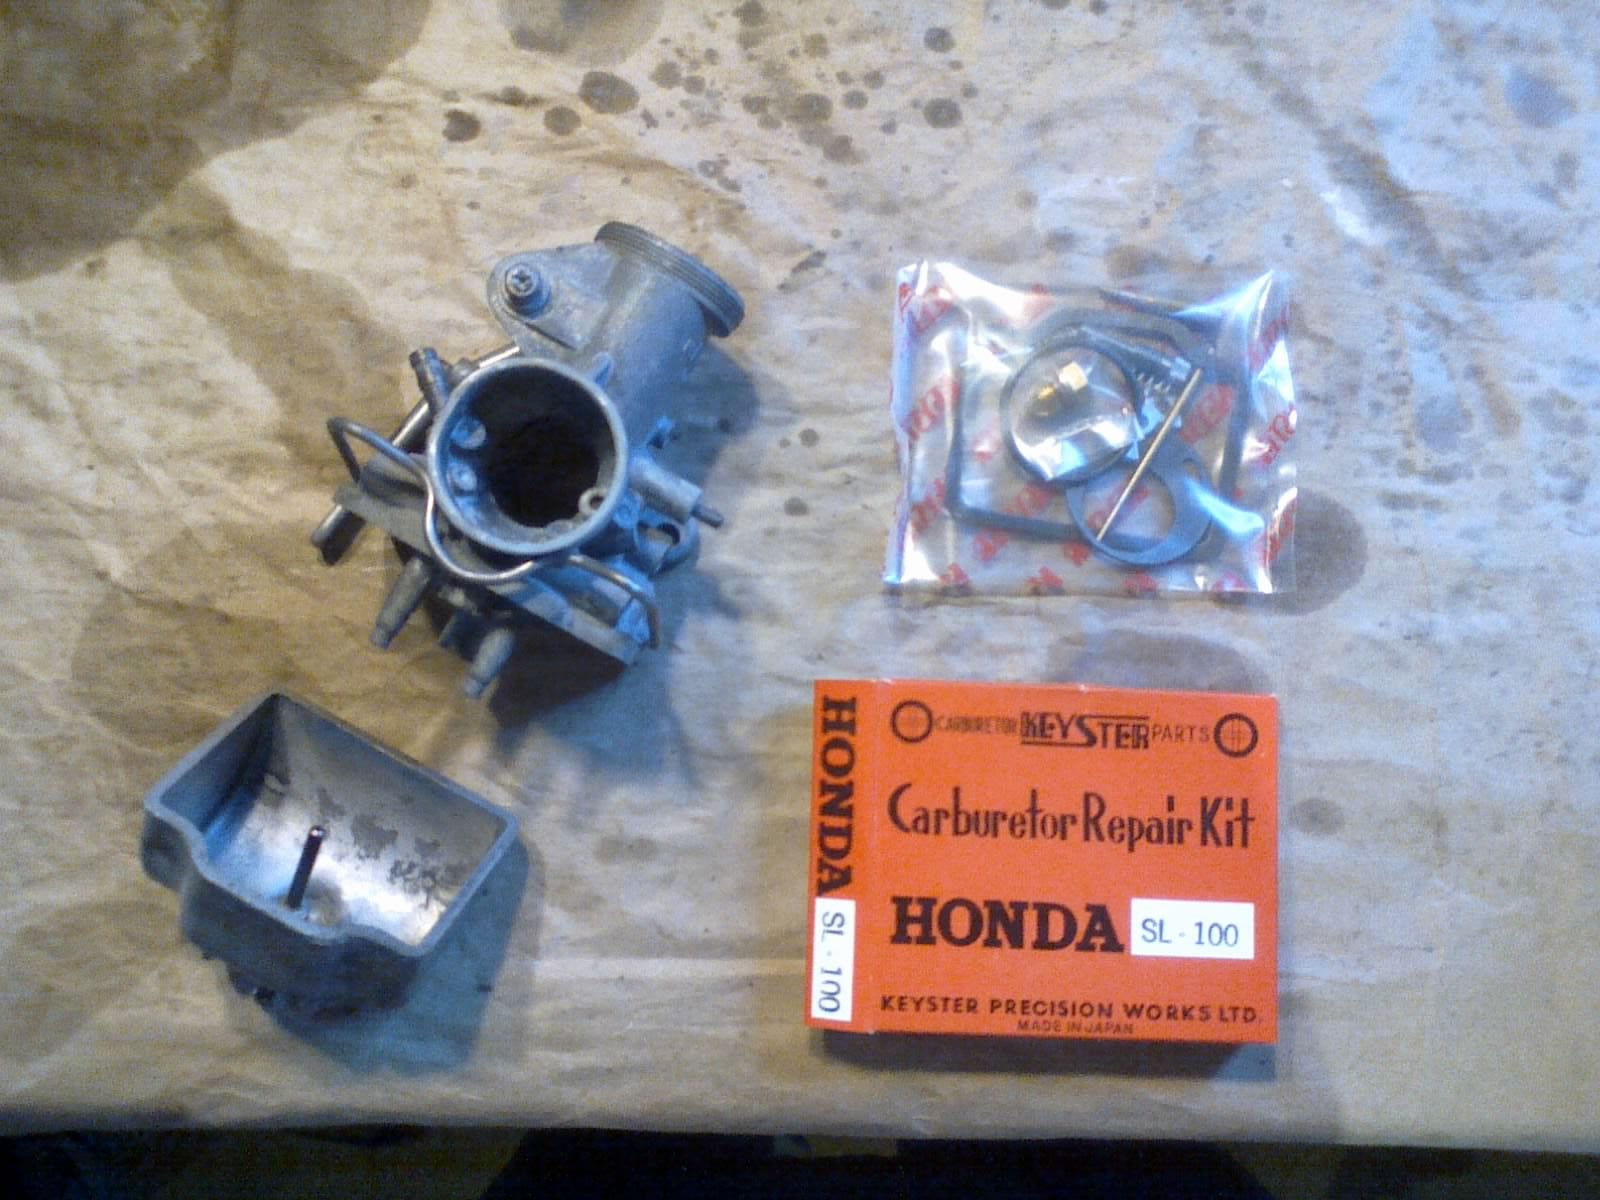
My rebuild kit is finally here!
While waiting, the carburetor has spent time sitting in a Pine-Sol bath and in an ultrasonic cleaner. Both methods seemed to help, and I’m hoping that the combination of the two has done a sufficient job of cleaning everything I couldn’t get to with brushes.
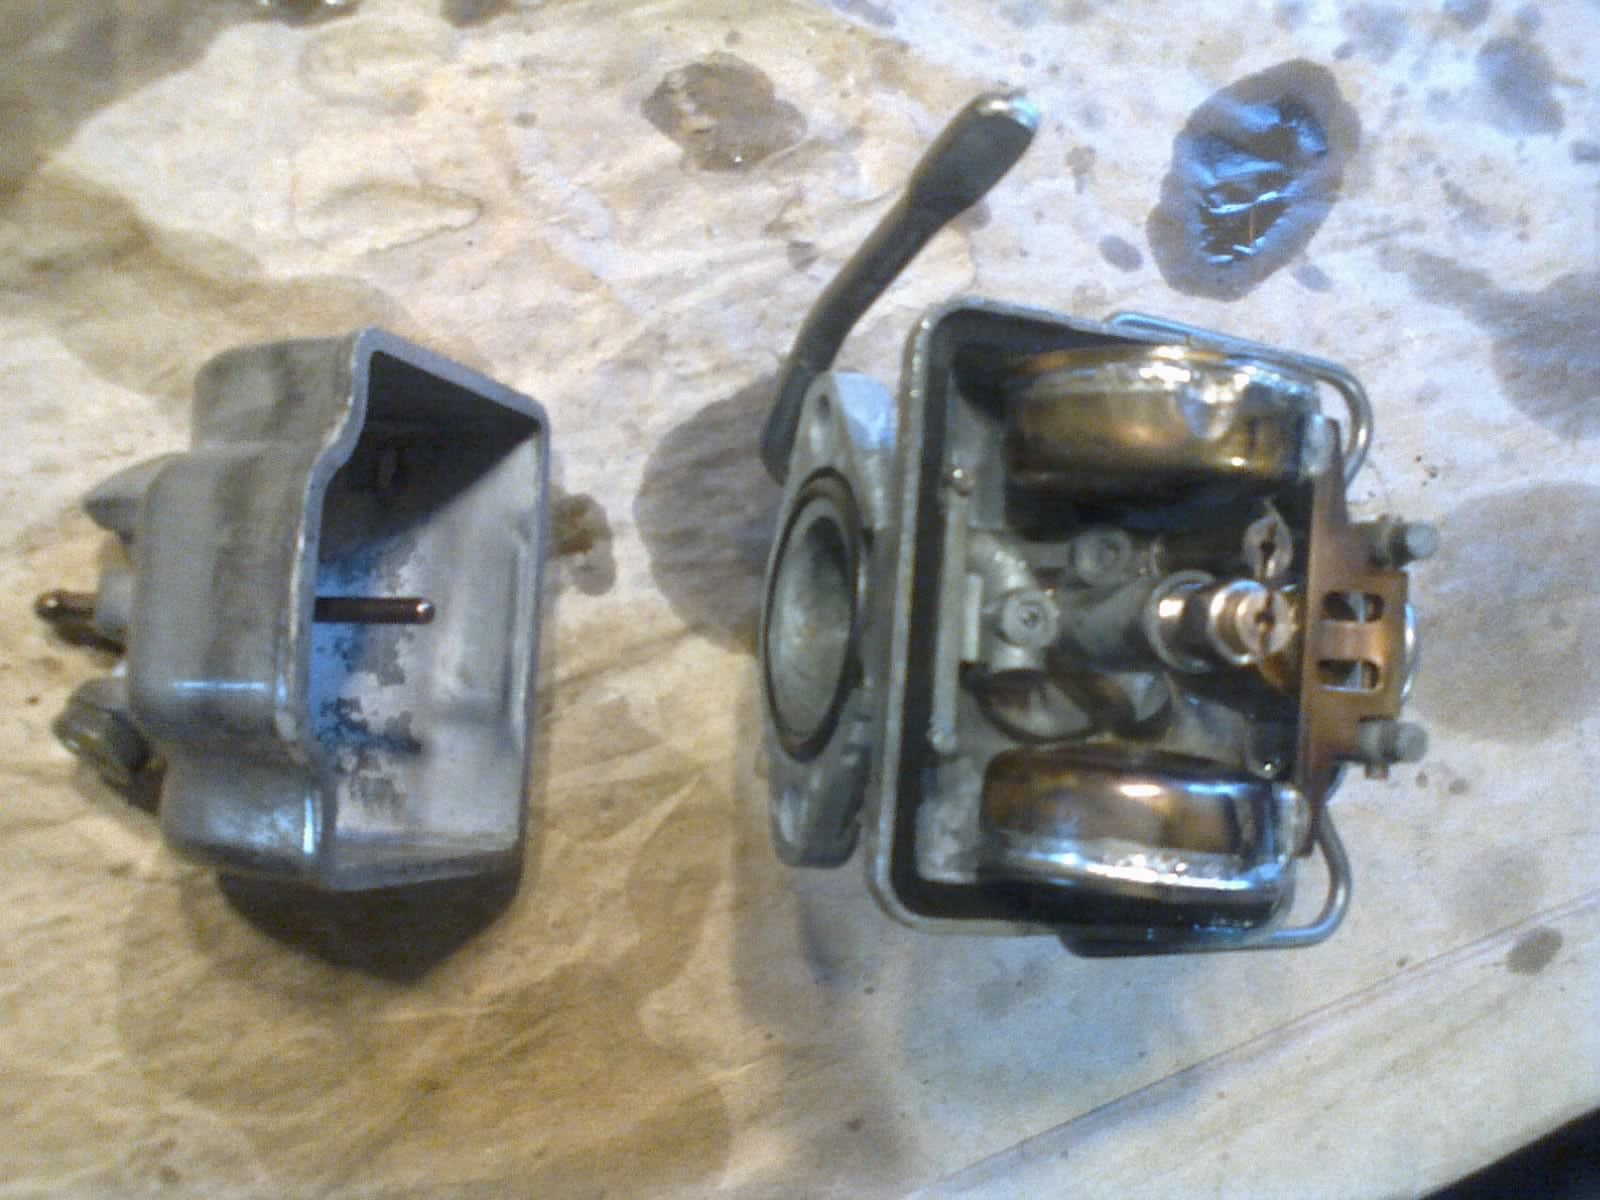
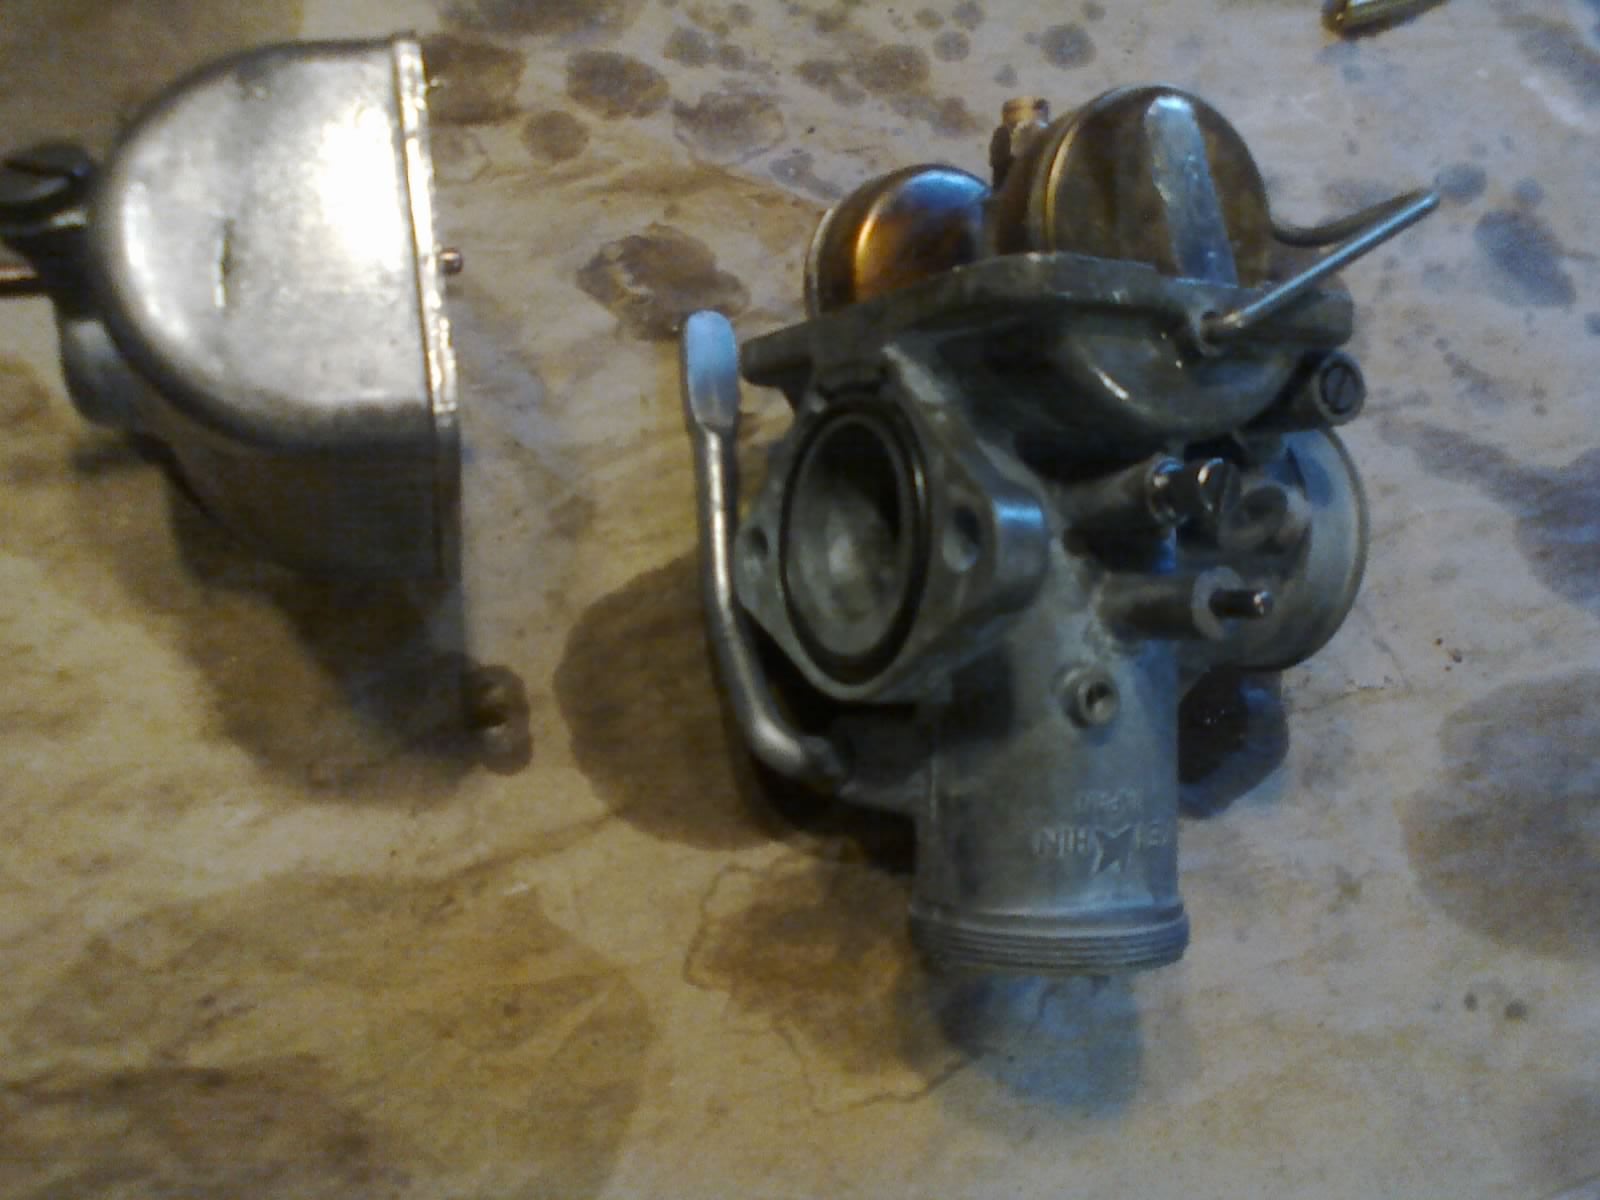
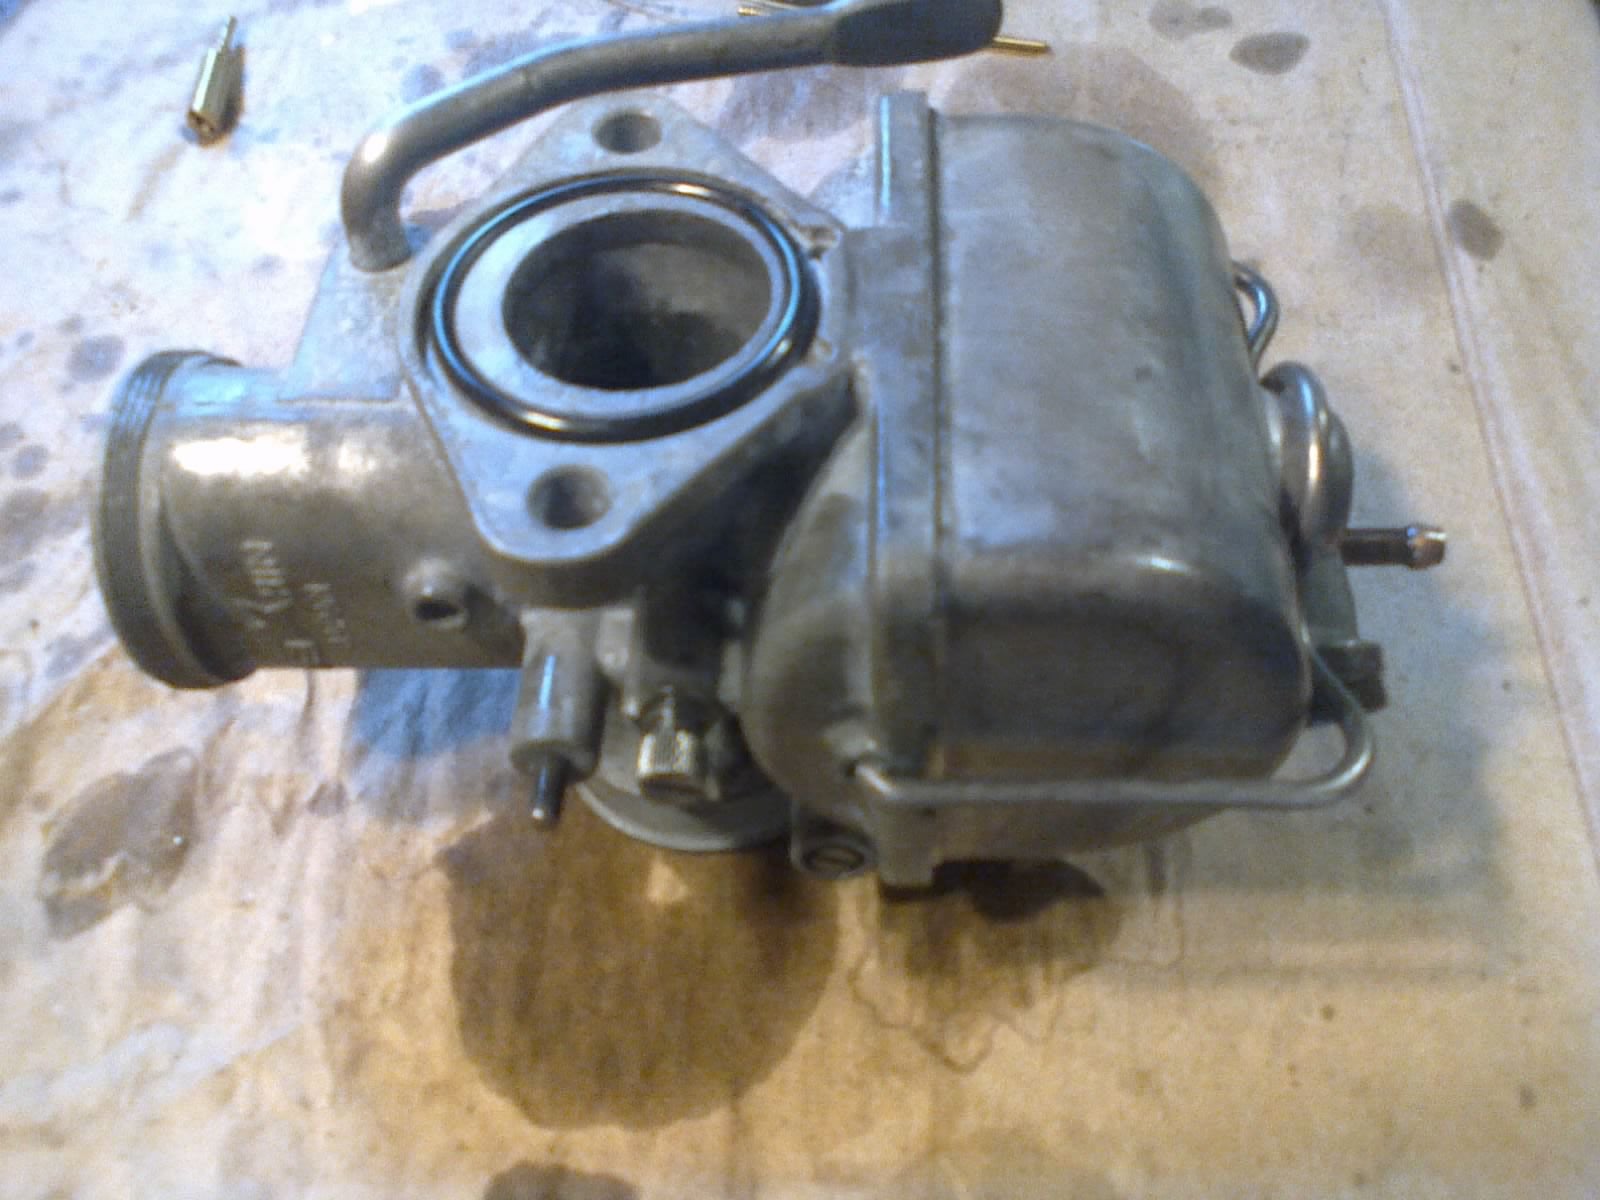
I’m admittedly new to this, so I’m drawing on what I learned from rebuilding my truck’s TBI unit. There’s not much to say about taking it apart, cleaning it, and putting it back together again, but for what it’s worth, I made sure to coat all fresh rubber in ATF prior to installation. I also used ATF to lubricate all the (now very dry) threads of the screws and jets. Here are some pictures from the process:
Before attempting to charge the old battery, I topped it off with distilled water up to the “full” mark. I then found a universal AC-DC transformer I had, which has the output amperage I was looking for (600mA), and selectable voltage. To avoid damaging the power supply’s main cord, I soldered some wire to a spare fitting I had laying around, and used that to hook up some jumper wires.
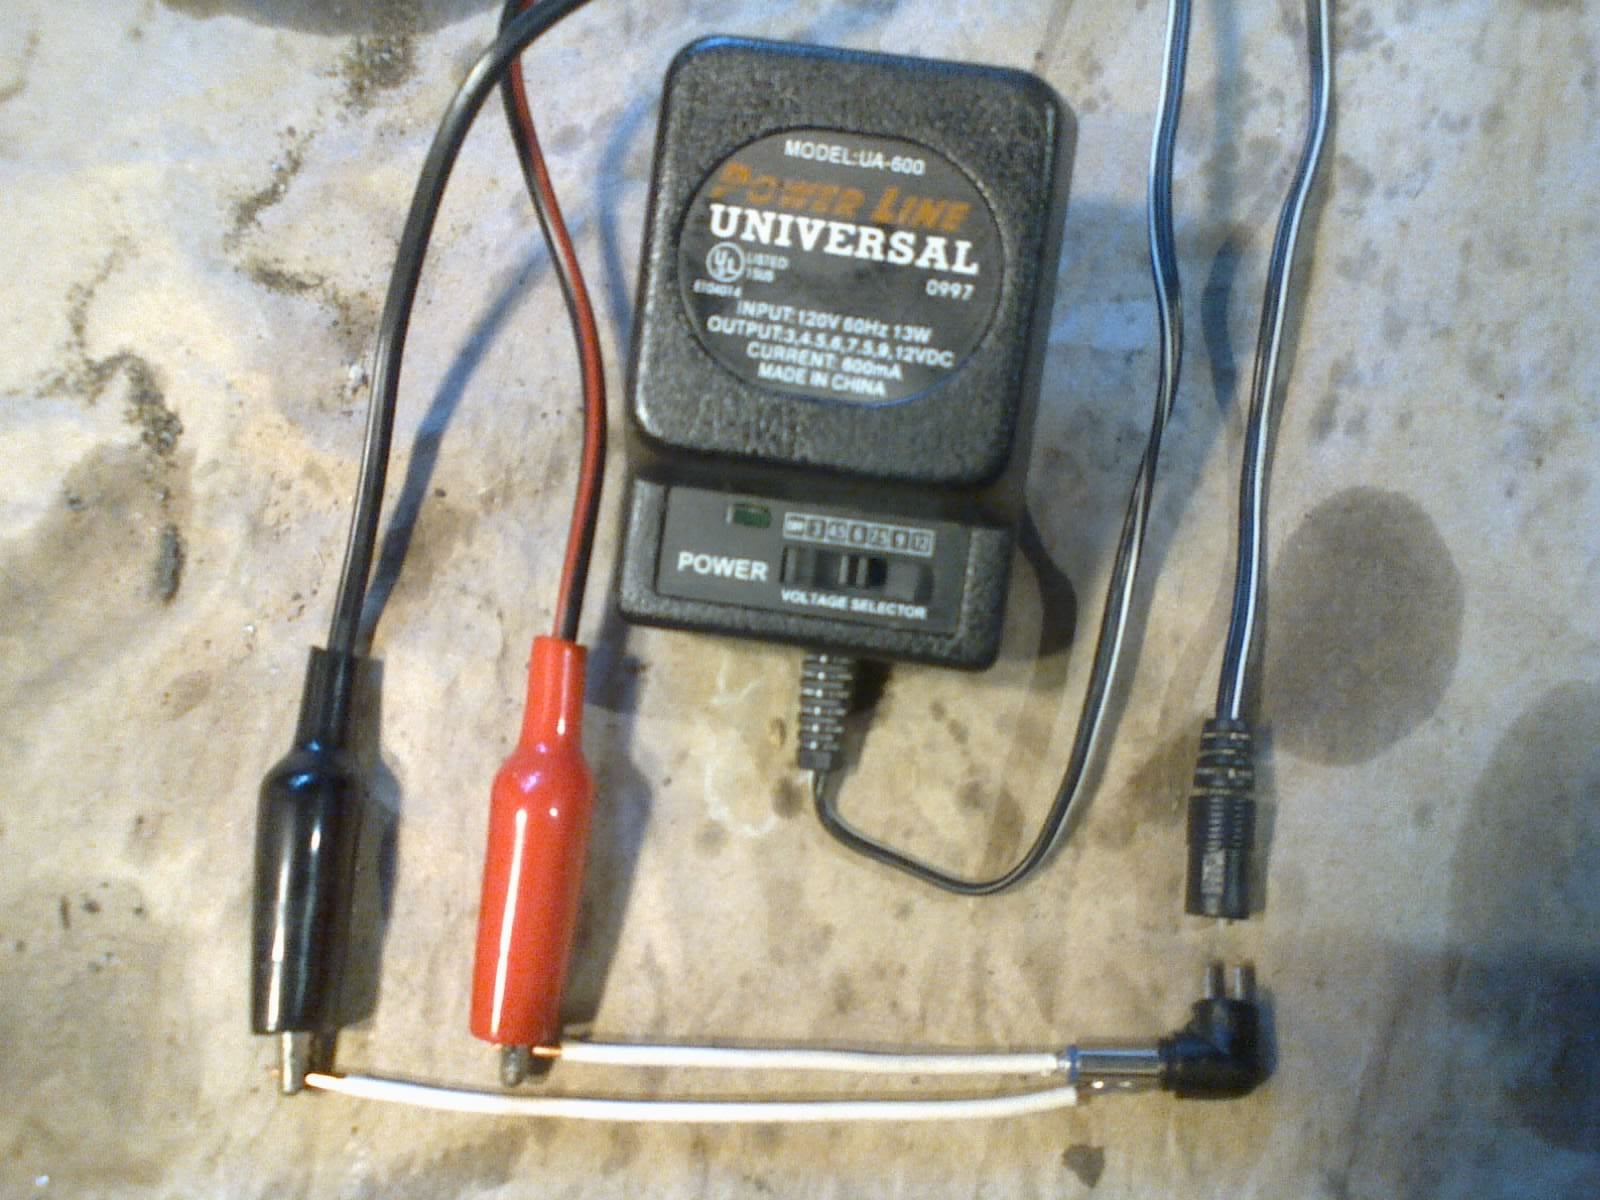
After charging half a day on the 4.5V setting (which was providing an output voltage of about 6.6V), I switched it to the 6V setting (~7.8V actual) for the rest of the day. I then disconnected the whole thing and let the battery sit overnight. In the morning, the battery’s voltage was back down to 5.6, and failed a load test. Big surprise.
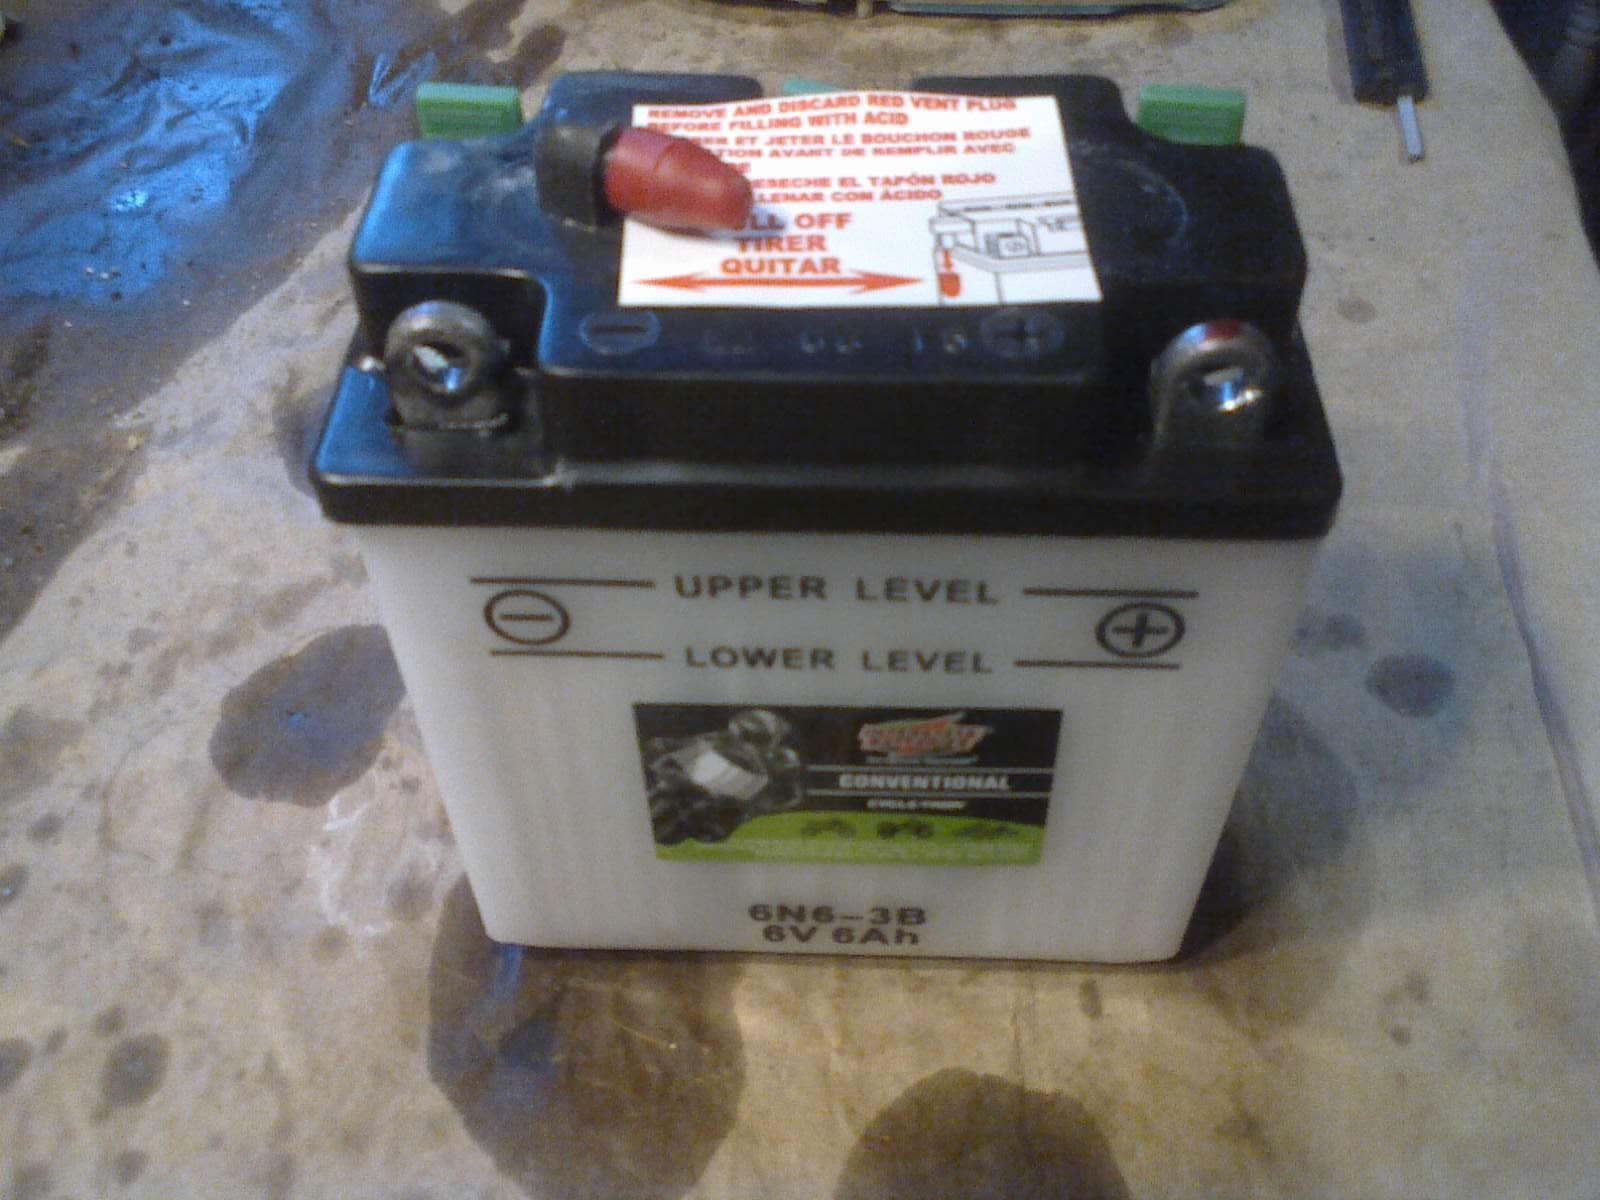
I bought a new battery at the local cycle shop and filled it with the included electrolyte. Not having done this before, I wasn’t expecting to see a reaction taking place behind the casing. It even became warm to the touch. Once it had settled, and the air bubbles were shook out, I put it on my homemade charger for a few hours. After disconnecting and letting the new battery sit overnight, it holds 6.3V. Now that’s better!
I’ve been resetting the !!!error: Indecipherable SUB-paragraph formatting!!! rig about 2-3 times per day by cleaning the shmoo off the anode rod (and sometimes just replacing it altogether), dumping and rinsing the tank, and refilling with solution.
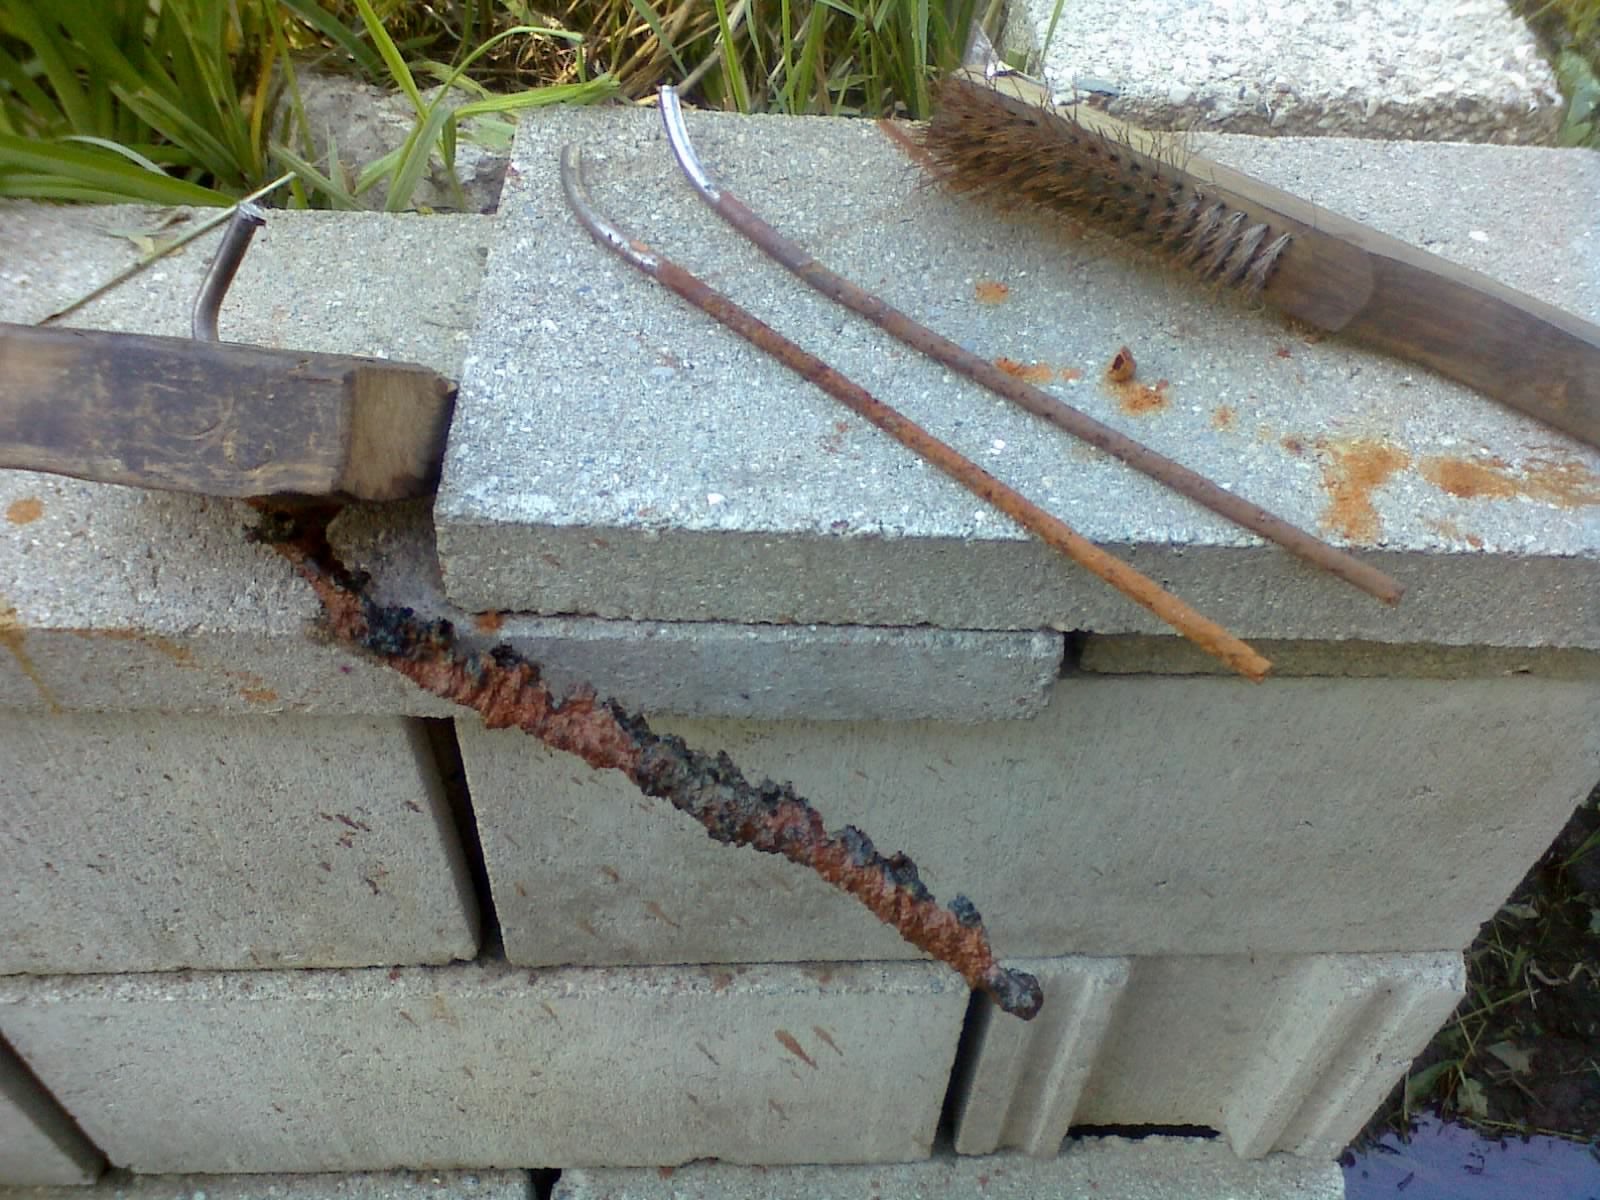
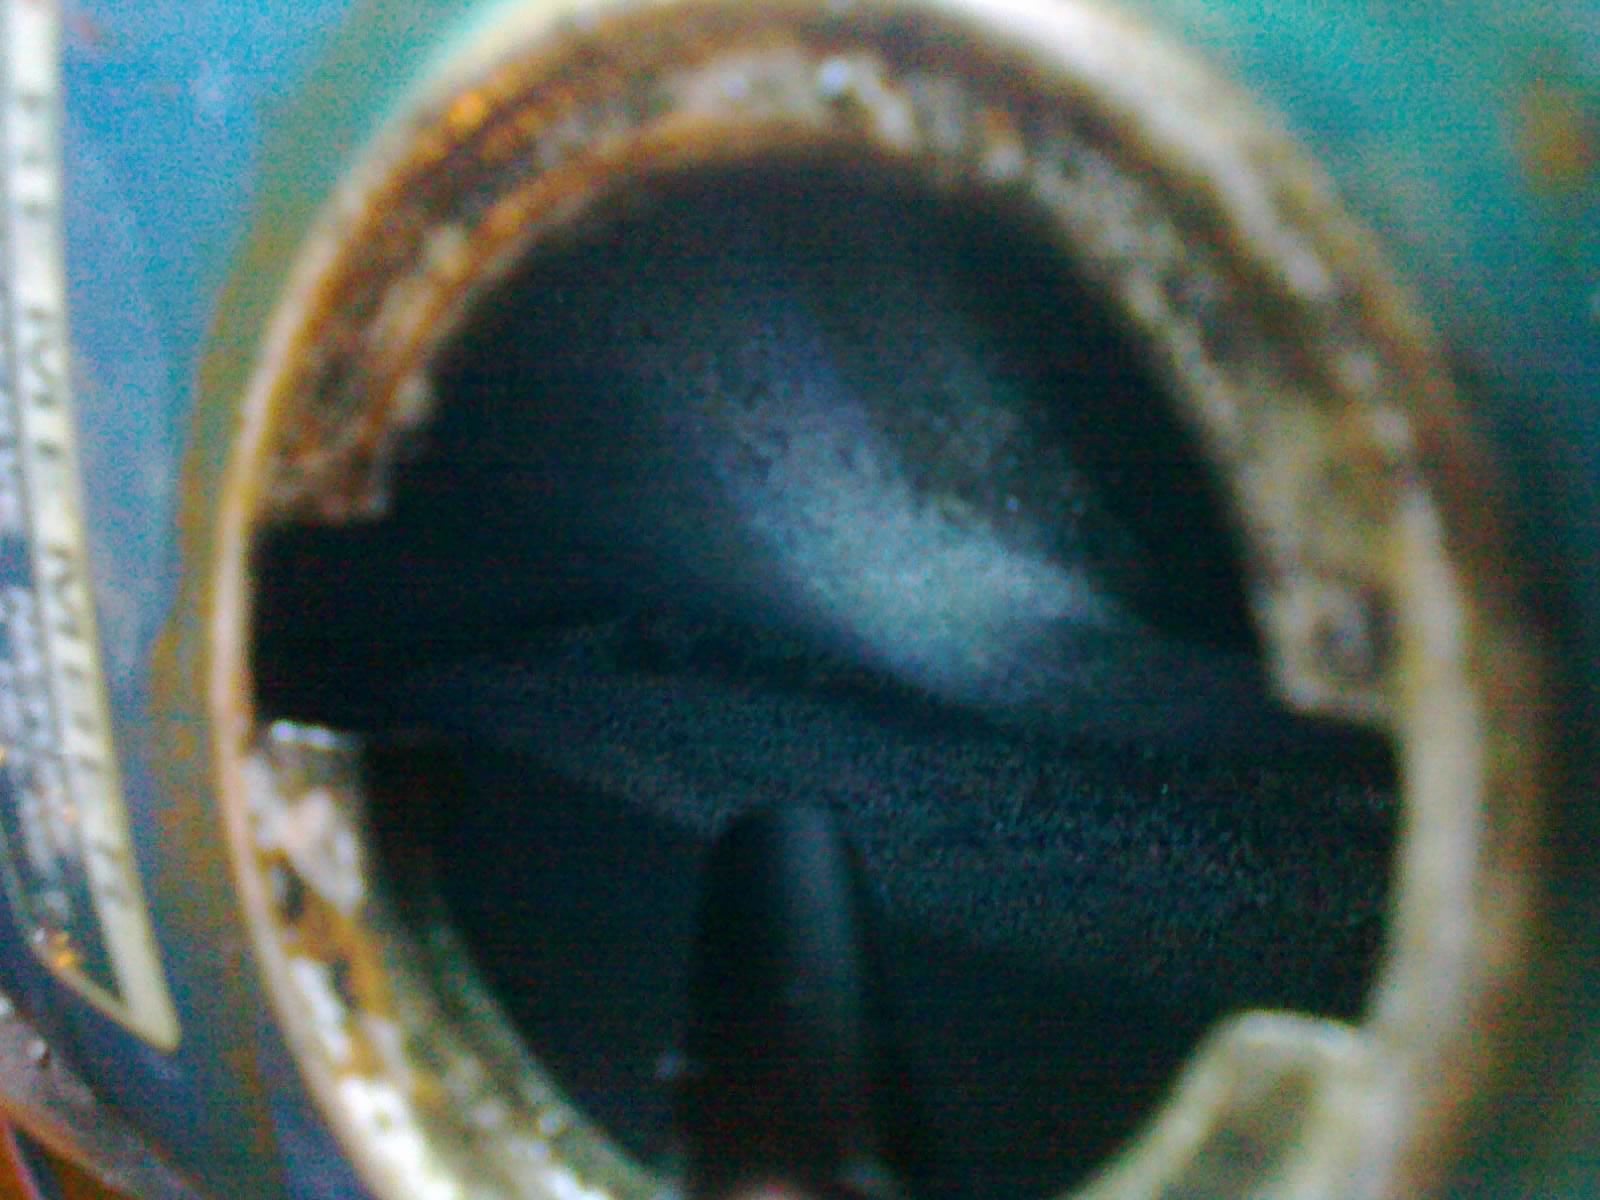
After one week of this, the tank looks tons better. I’m pleased to report that the process has not exposed any leaks, and I have placed my order for a !!!error: Indecipherable SUB-paragraph formatting!!! . I still have a couple days before it’s expected to arrive, so it can spend a little more time bathing before I put the kit to use. Here’s how the inside of the tank looks now:
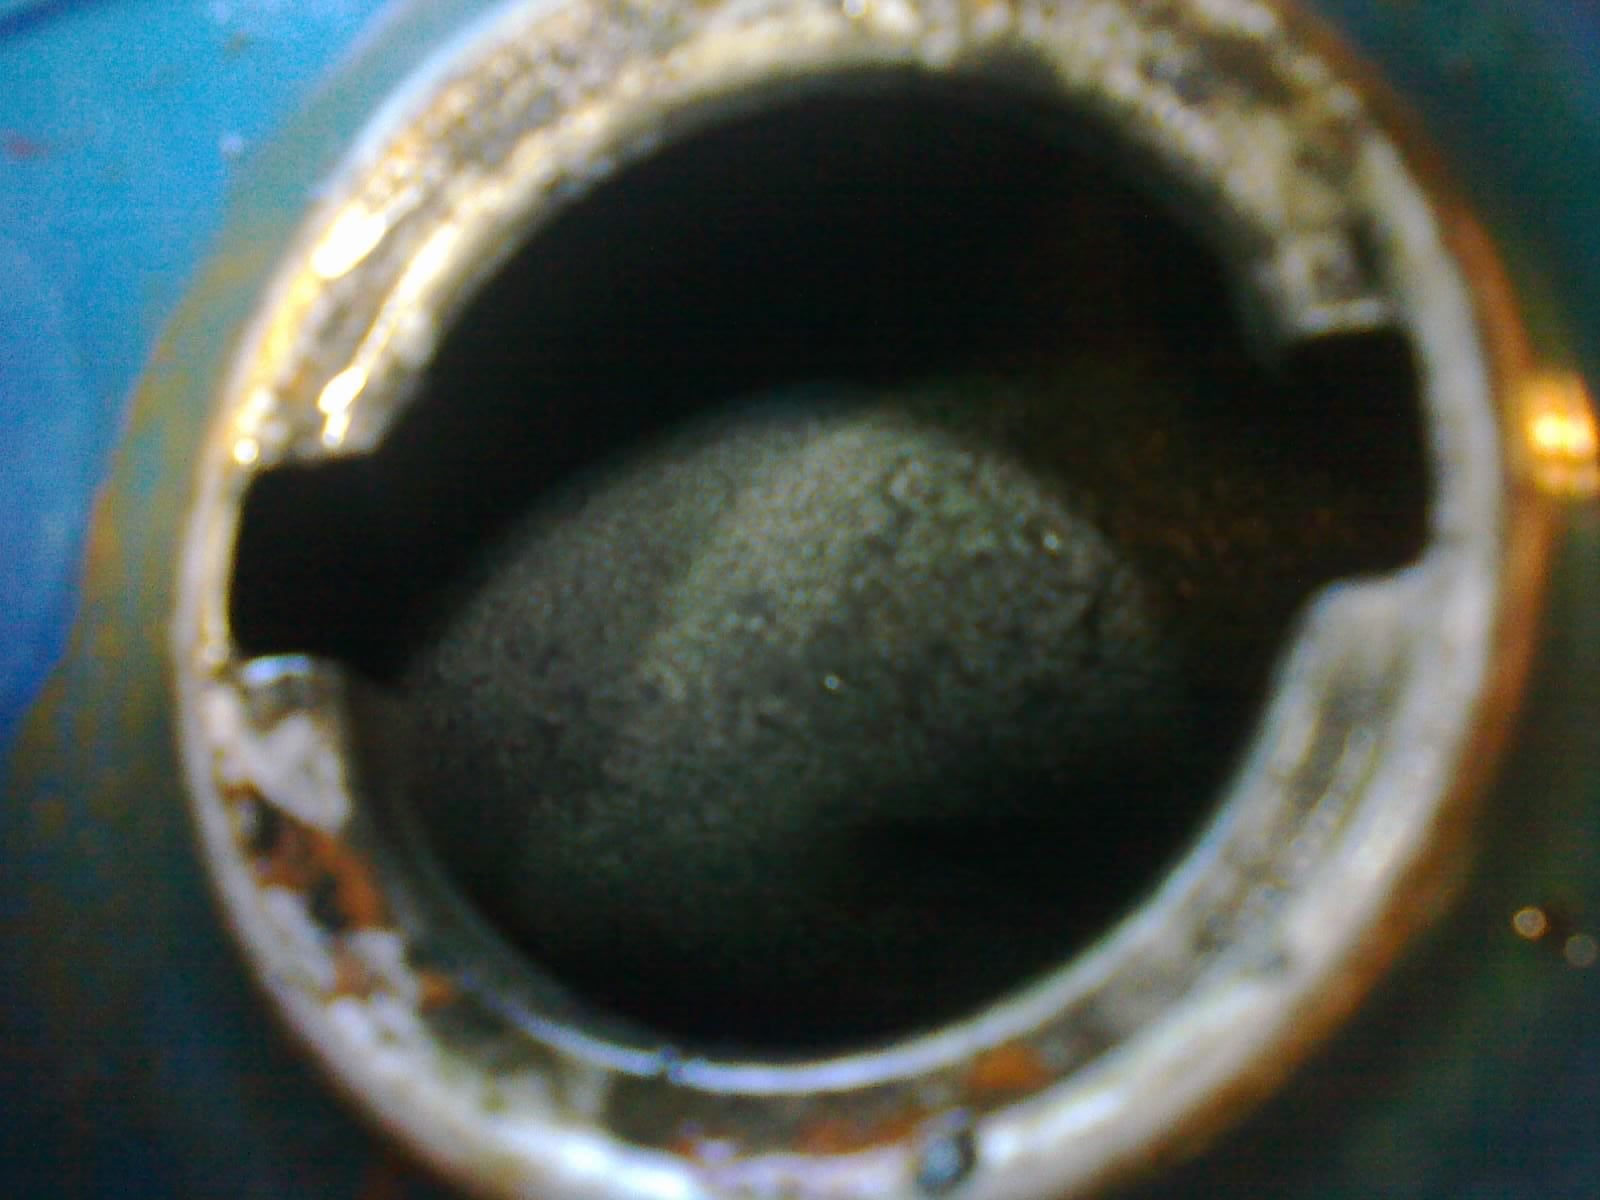

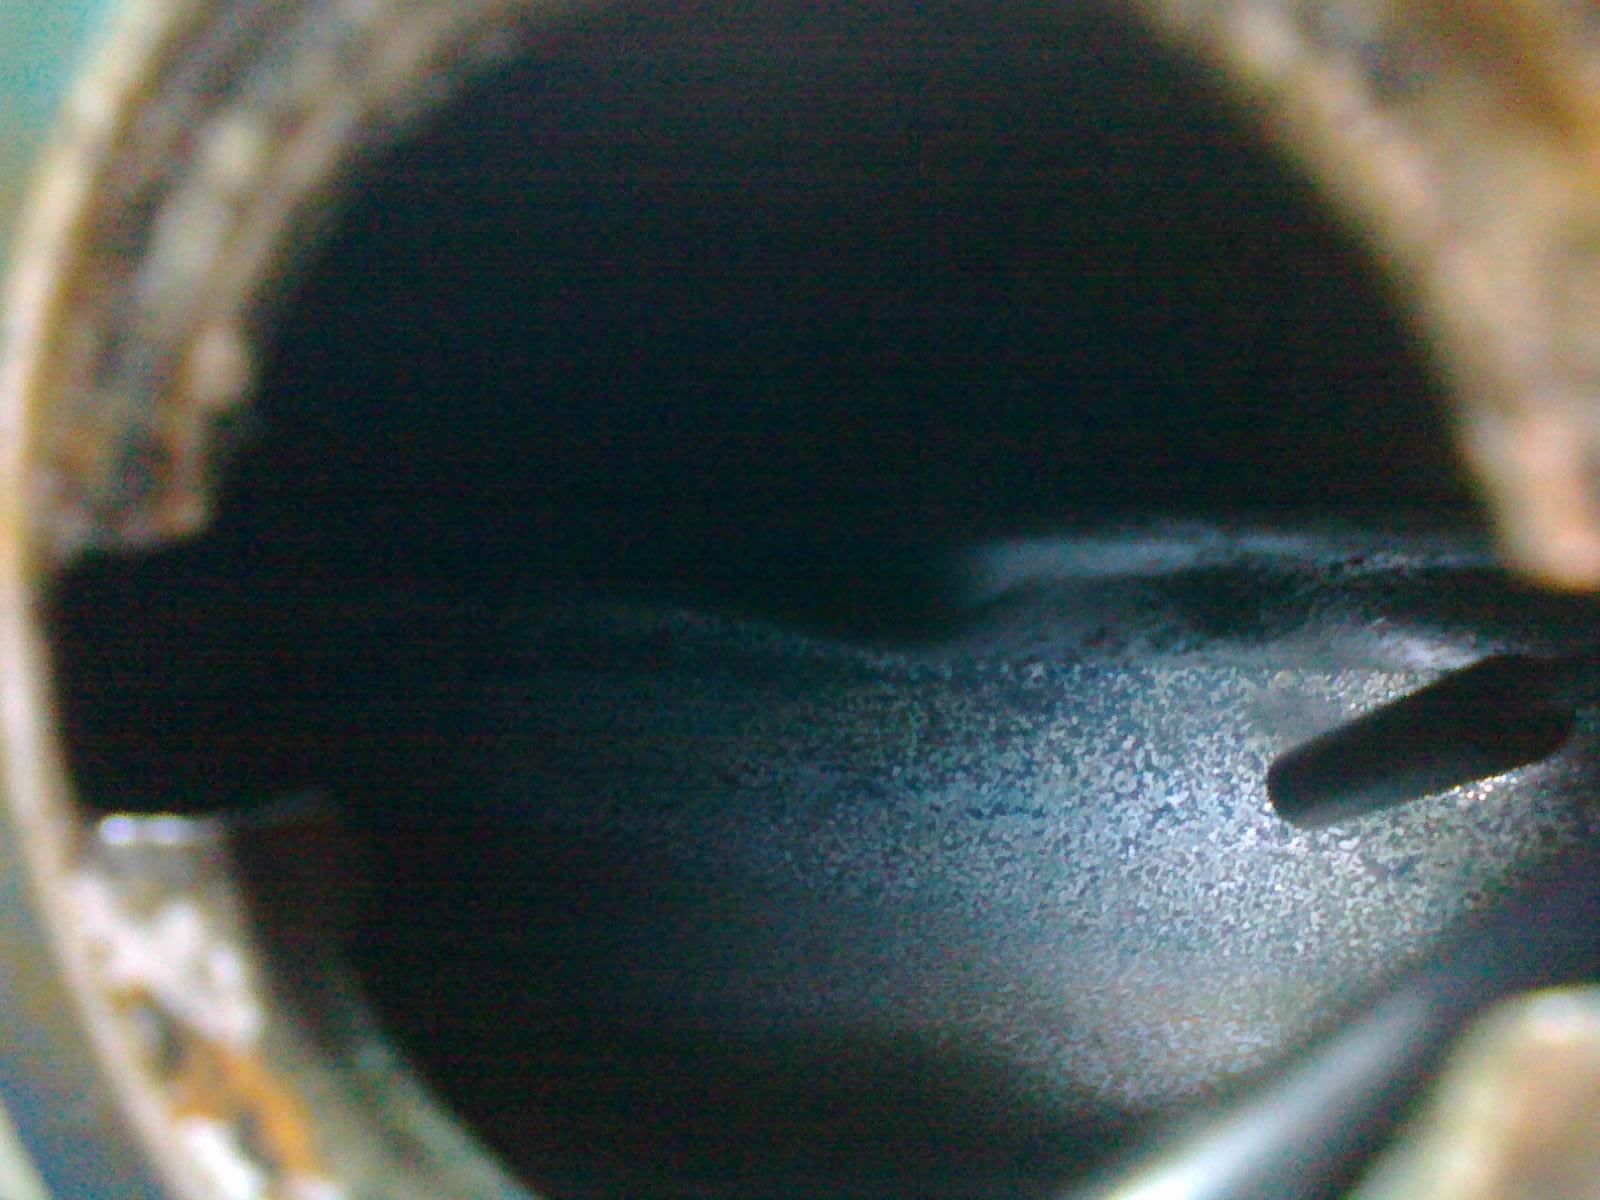

Scope view- top of the inner hump

Scope view- bottom of the tank
The most stubborn remnants of rust are deep in the creases where the metal of the tank is pinched together. If the electrolysis method has plateaued, maybe the acid etch will pick up where it left off. And the sealer should lock down anything that’s still hanging around. Besides, I figure that there comes a point where you have to decide that if cleaning has ceased to remove contaminants, then those contaminants probably aren’t going to fall off into the fuel during normal use. And even if they do, the fuel filter will catch any particles before they can get into the carburetor.
 Pickup_man
> Urambo Tauro
Pickup_man
> Urambo Tauro
09/20/2016 at 12:16 |
|
Looking good! Hopefully the rest goes smoothly and you can get it fired up soon.
|
Urambo Tauro
> Pickup_man
09/20/2016 at 12:30 |
|
I’m eager to see that happen, too. Maybe another week or two...
 jminer
> Urambo Tauro
jminer
> Urambo Tauro
09/20/2016 at 12:30 |
|
Yeah, batteries are rarely able to be brought back to life. Good work on the tank, honestly you won’t likely need to even seal it, but if you want to I’ll recommend POR15. I’ve used the kit before with excellent success.
As far as the carb goes make sure to use some compressed air to clean on the passageways and jets, that’ll make sure everything is good.
 shop-teacher
> Urambo Tauro
shop-teacher
> Urambo Tauro
09/20/2016 at 13:10 |
|
It’s coming along nicely.
|
Pickup_man
> Urambo Tauro
09/20/2016 at 13:19 |
|
That would be awesome, doesn’t look like you have a ton left to do. Bringing an old machine back to life is an amazing feeling, which reminds me, I should probably do a follow up on my junkyard XR200 post from forever ago.
 gmporschenut also a fan of hondas
> Urambo Tauro
gmporschenut also a fan of hondas
> Urambo Tauro
09/20/2016 at 22:09 |
|
neat.
i just learned that nobody wants my dads 77 yamaha 250. Winter project FTW!
Have you had issues getting parts?
|
Urambo Tauro
> gmporschenut also a fan of hondas
09/20/2016 at 22:25 |
|
Nah. Honda stuff seems to be quite plentiful out there. I picked up a few things locally at auto parts stores and cycle shops, but I’ve been sourcing most of the parts through eBay. I try to stick with OEM parts as much as I can. So, once I find the part number I need, I can run a search for that number and sort by price.